
August is coming to an end, and it’s already feeling like fall. Besides associating the fall with anything and everything pumpkin, fall to me means quality carbs. I’m talking bread, cookies, pies, muffins, scones and anything in between. I mean, how can you not associate fall with carbs? It is the beginning of the baking season; starting with Halloween. Besides it marking the beginning of the holidays, the fall also brings a welcome chill into the air that can be easily remedied with a warm, baked treat. Naturally, humans tend to bulk up a bit for the coming cold season and anything carby and baked is obviously the right answer.

I started baking bread two years ago. At the request of my mom, I baked dinner rolls for Thanksgiving and Christmas. I looked for recipes that seemed easy enough for me to do in an afternoon and that did not require a mixer. I did find recipe gems that required a mixer but I attempted them anyway, even without the luxury and ease of one. While I am still pining for a 5-quart tilt head KitchenAid (in either Cobalt Blue or Silver Metallic) with all the accoutrements, I brave these recipes and complete them by hand.


Bread dough is a finicky thing; more so if you’re a beginner, are sans mixer, and still don’t know what you’re doing. The most difficult step for me is the kneading. Besides not having any counter space (at all) to actually roll out and knead dough, my dough always comes out stickier than required. I know that with a little more kneading, the dough will stop feeling tacky but I find it hard to do so with a hand covered in dough whilst kneading in the bowl. I have to say, despite the challenge, I have learned how to knead dough in a bowl and figure out when it’s ready to rest and rise.

Even though dealing with dough can be problematic, I love making bread. My favorite part is blooming (proofing?) the yeast. It’s amazing to see this little envelope of powder come to life in a dramatically foamy and aromatic way. I love how these little foamy bubbles become bread. This is one of the things that keeps me going back to making bread every time, despite many failed attempts (most recently, two). The other is obviously the delicious results 😉
This recipe is usually my go to. It’s easy for beginners with or without a mixer and is easily adaptable. I have tweaked it many times, each with deliciously fluffy and sweet results. It’s great with a little softened butter, or by itself, straight out of the oven. There’s nothing like the warmth of freshly baked bread to welcome the incoming fall (and baking!) season.
Whole Wheat Dinner Rolls – adapted from Allrecipes.com
Makes 16 dinner rolls
- 1/2 cup warm water (110F/45C)
- 1 packet active dry yeast (2 1/4 tsp)
- 1/3 cup of sugar, divided
- 1/2 cup of milk
- 1/3 cup of butter
- 2 tsp salt
- 1 egg
- 1 1/2 cups whole wheat flour
- 2 1/4 cup all-purpose flour, plus more for kneading
- 1/4 cup butter, melted
- Dissolve yeast in the 1/2 cup of warm water with 1 tbsp of the measured sugar. Proof for 10 minutes
- Place milk, 1/3 cup of butter, the rest of the sugar and the salt in a medium saucepan. Cook on low heat until butter is melted and sugar is dissolved
- In a medium bowl, mix together the whole wheat and all-purpose flour. Set aside
- In a large bowl, beat the egg. Then, add the warm milk mixture and the proofed yeast
- Add in the flour mixture to the wet mix a little bit at a time, until fully incorporated.
- Knead dough on a lightly floured surface, adding more flour if needed, until the dough is no longer sticky.
- Place dough in a lightly greased bowl. Cover and let rest for 1 hour.
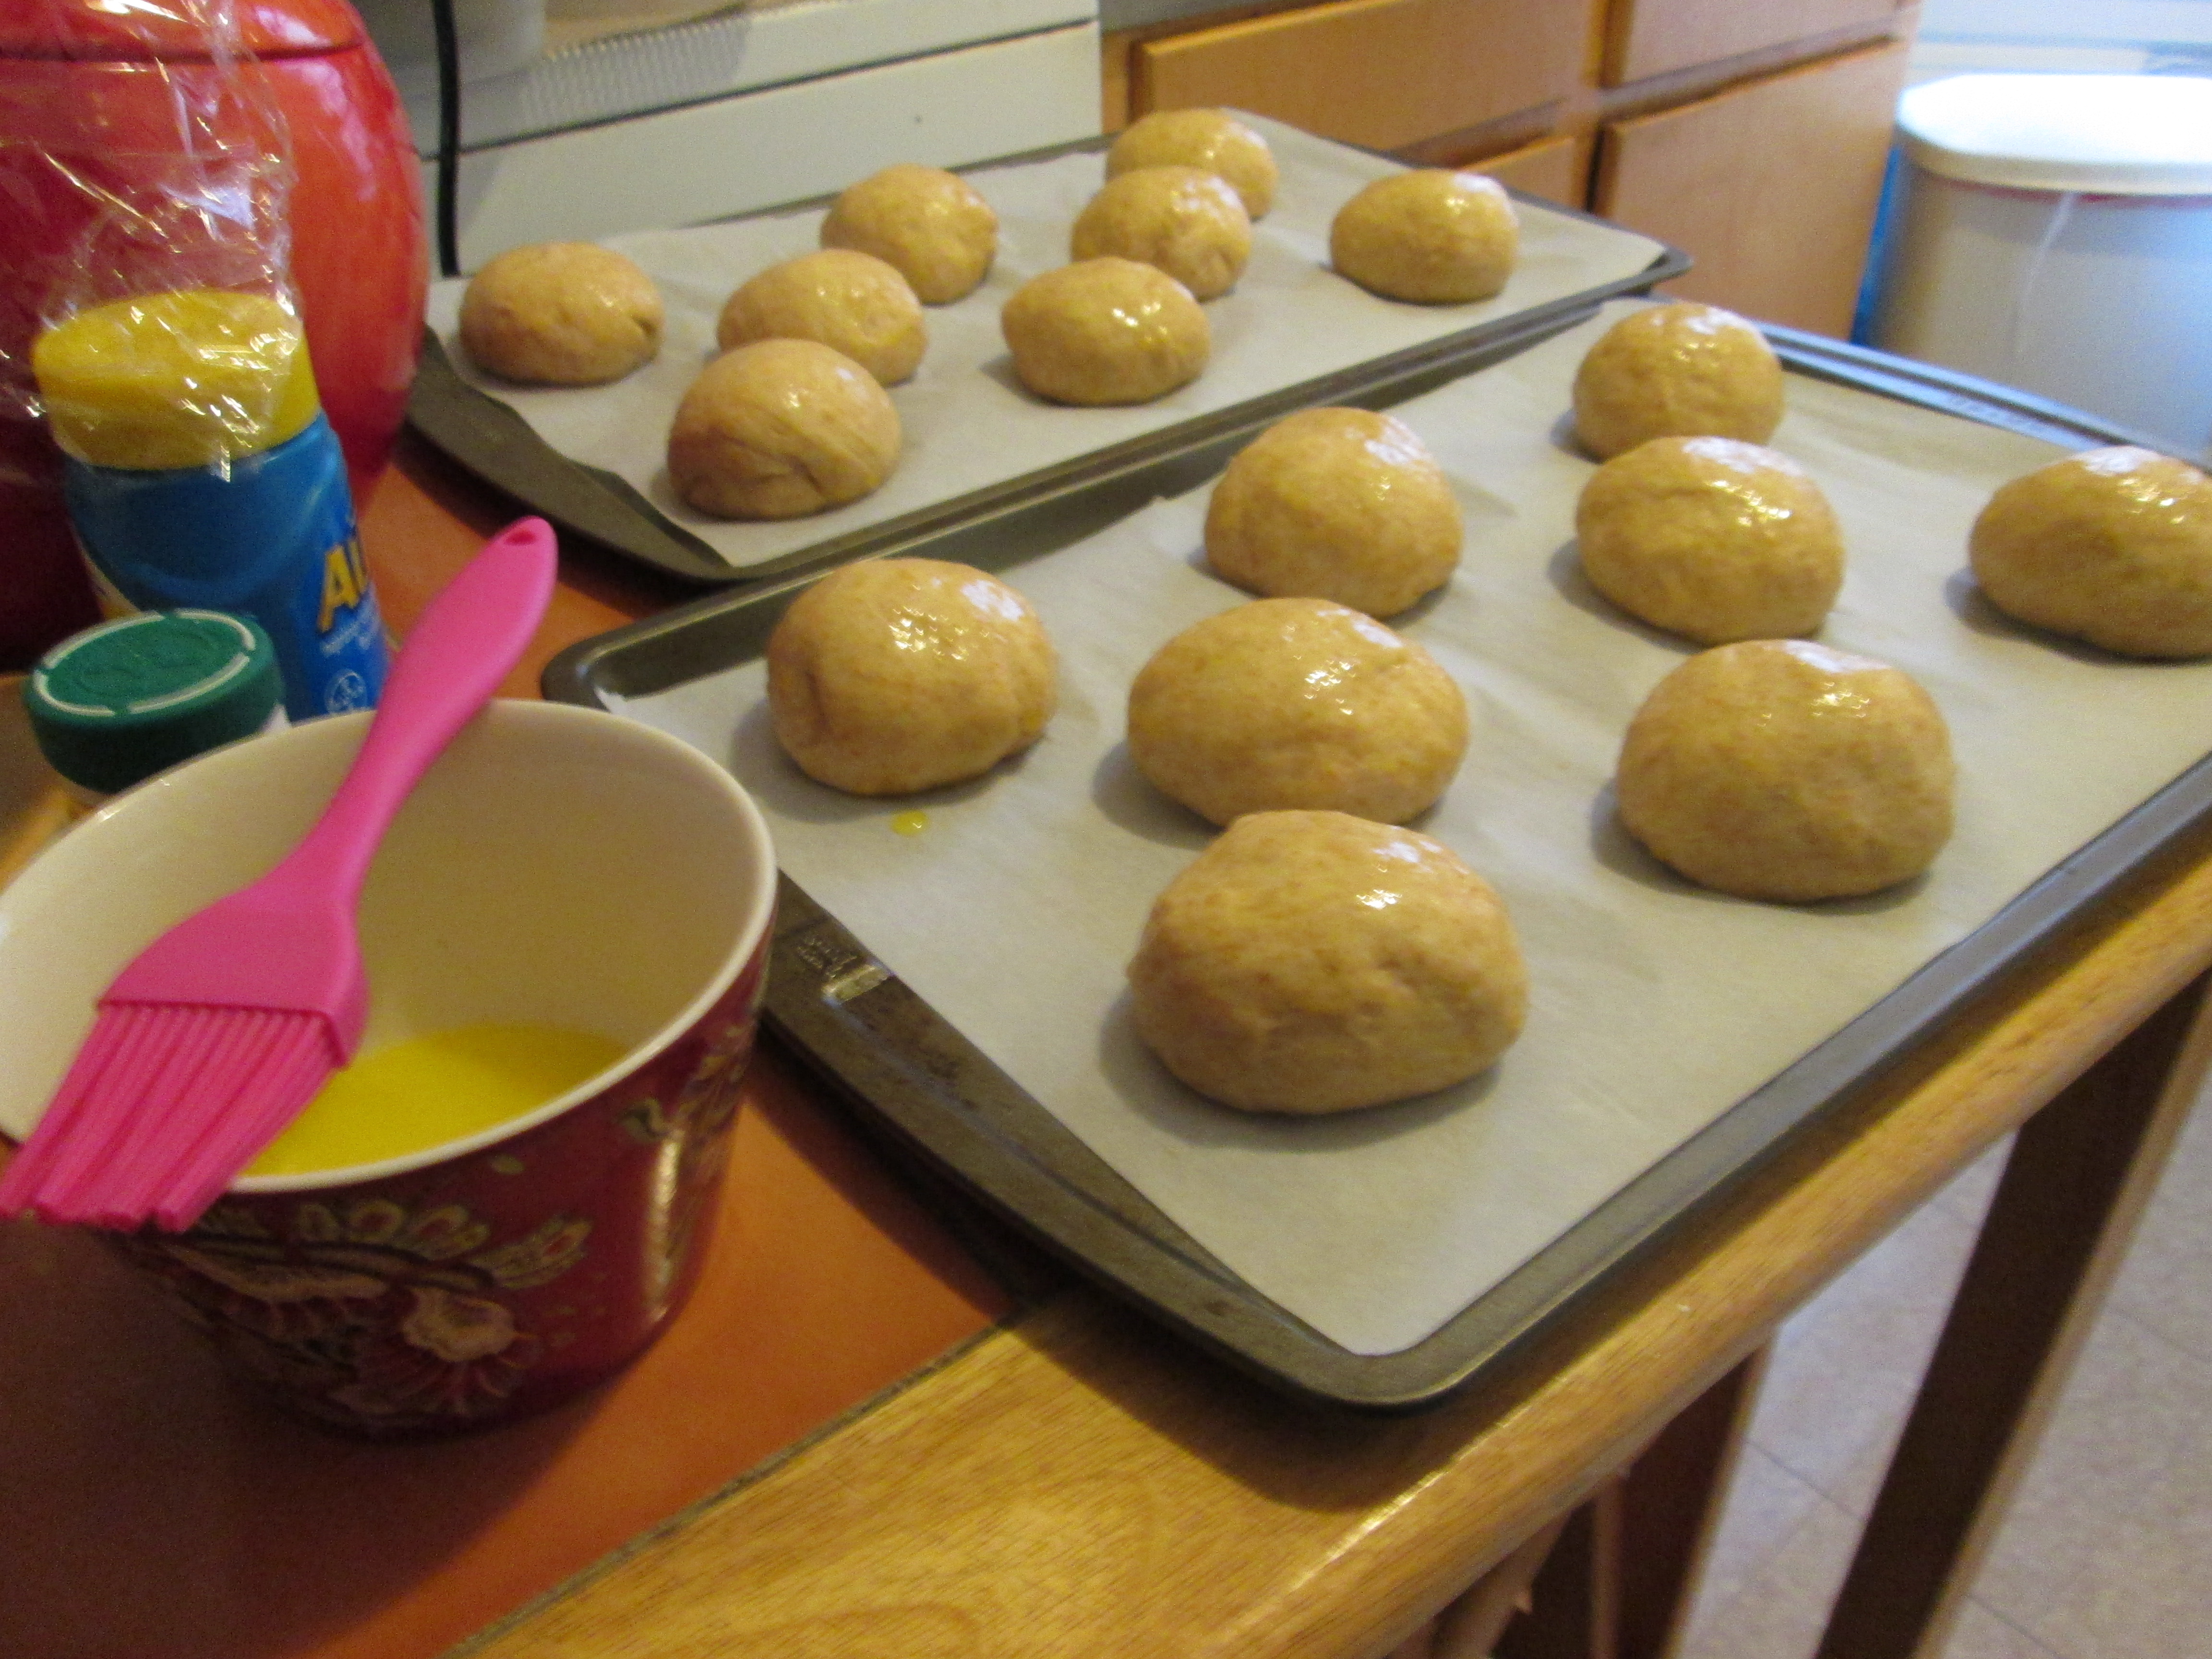
- Punch dough down and portion into 16 rolls. Place on baking sheets lined with parchment. Cover and let rise for 1 more hour.
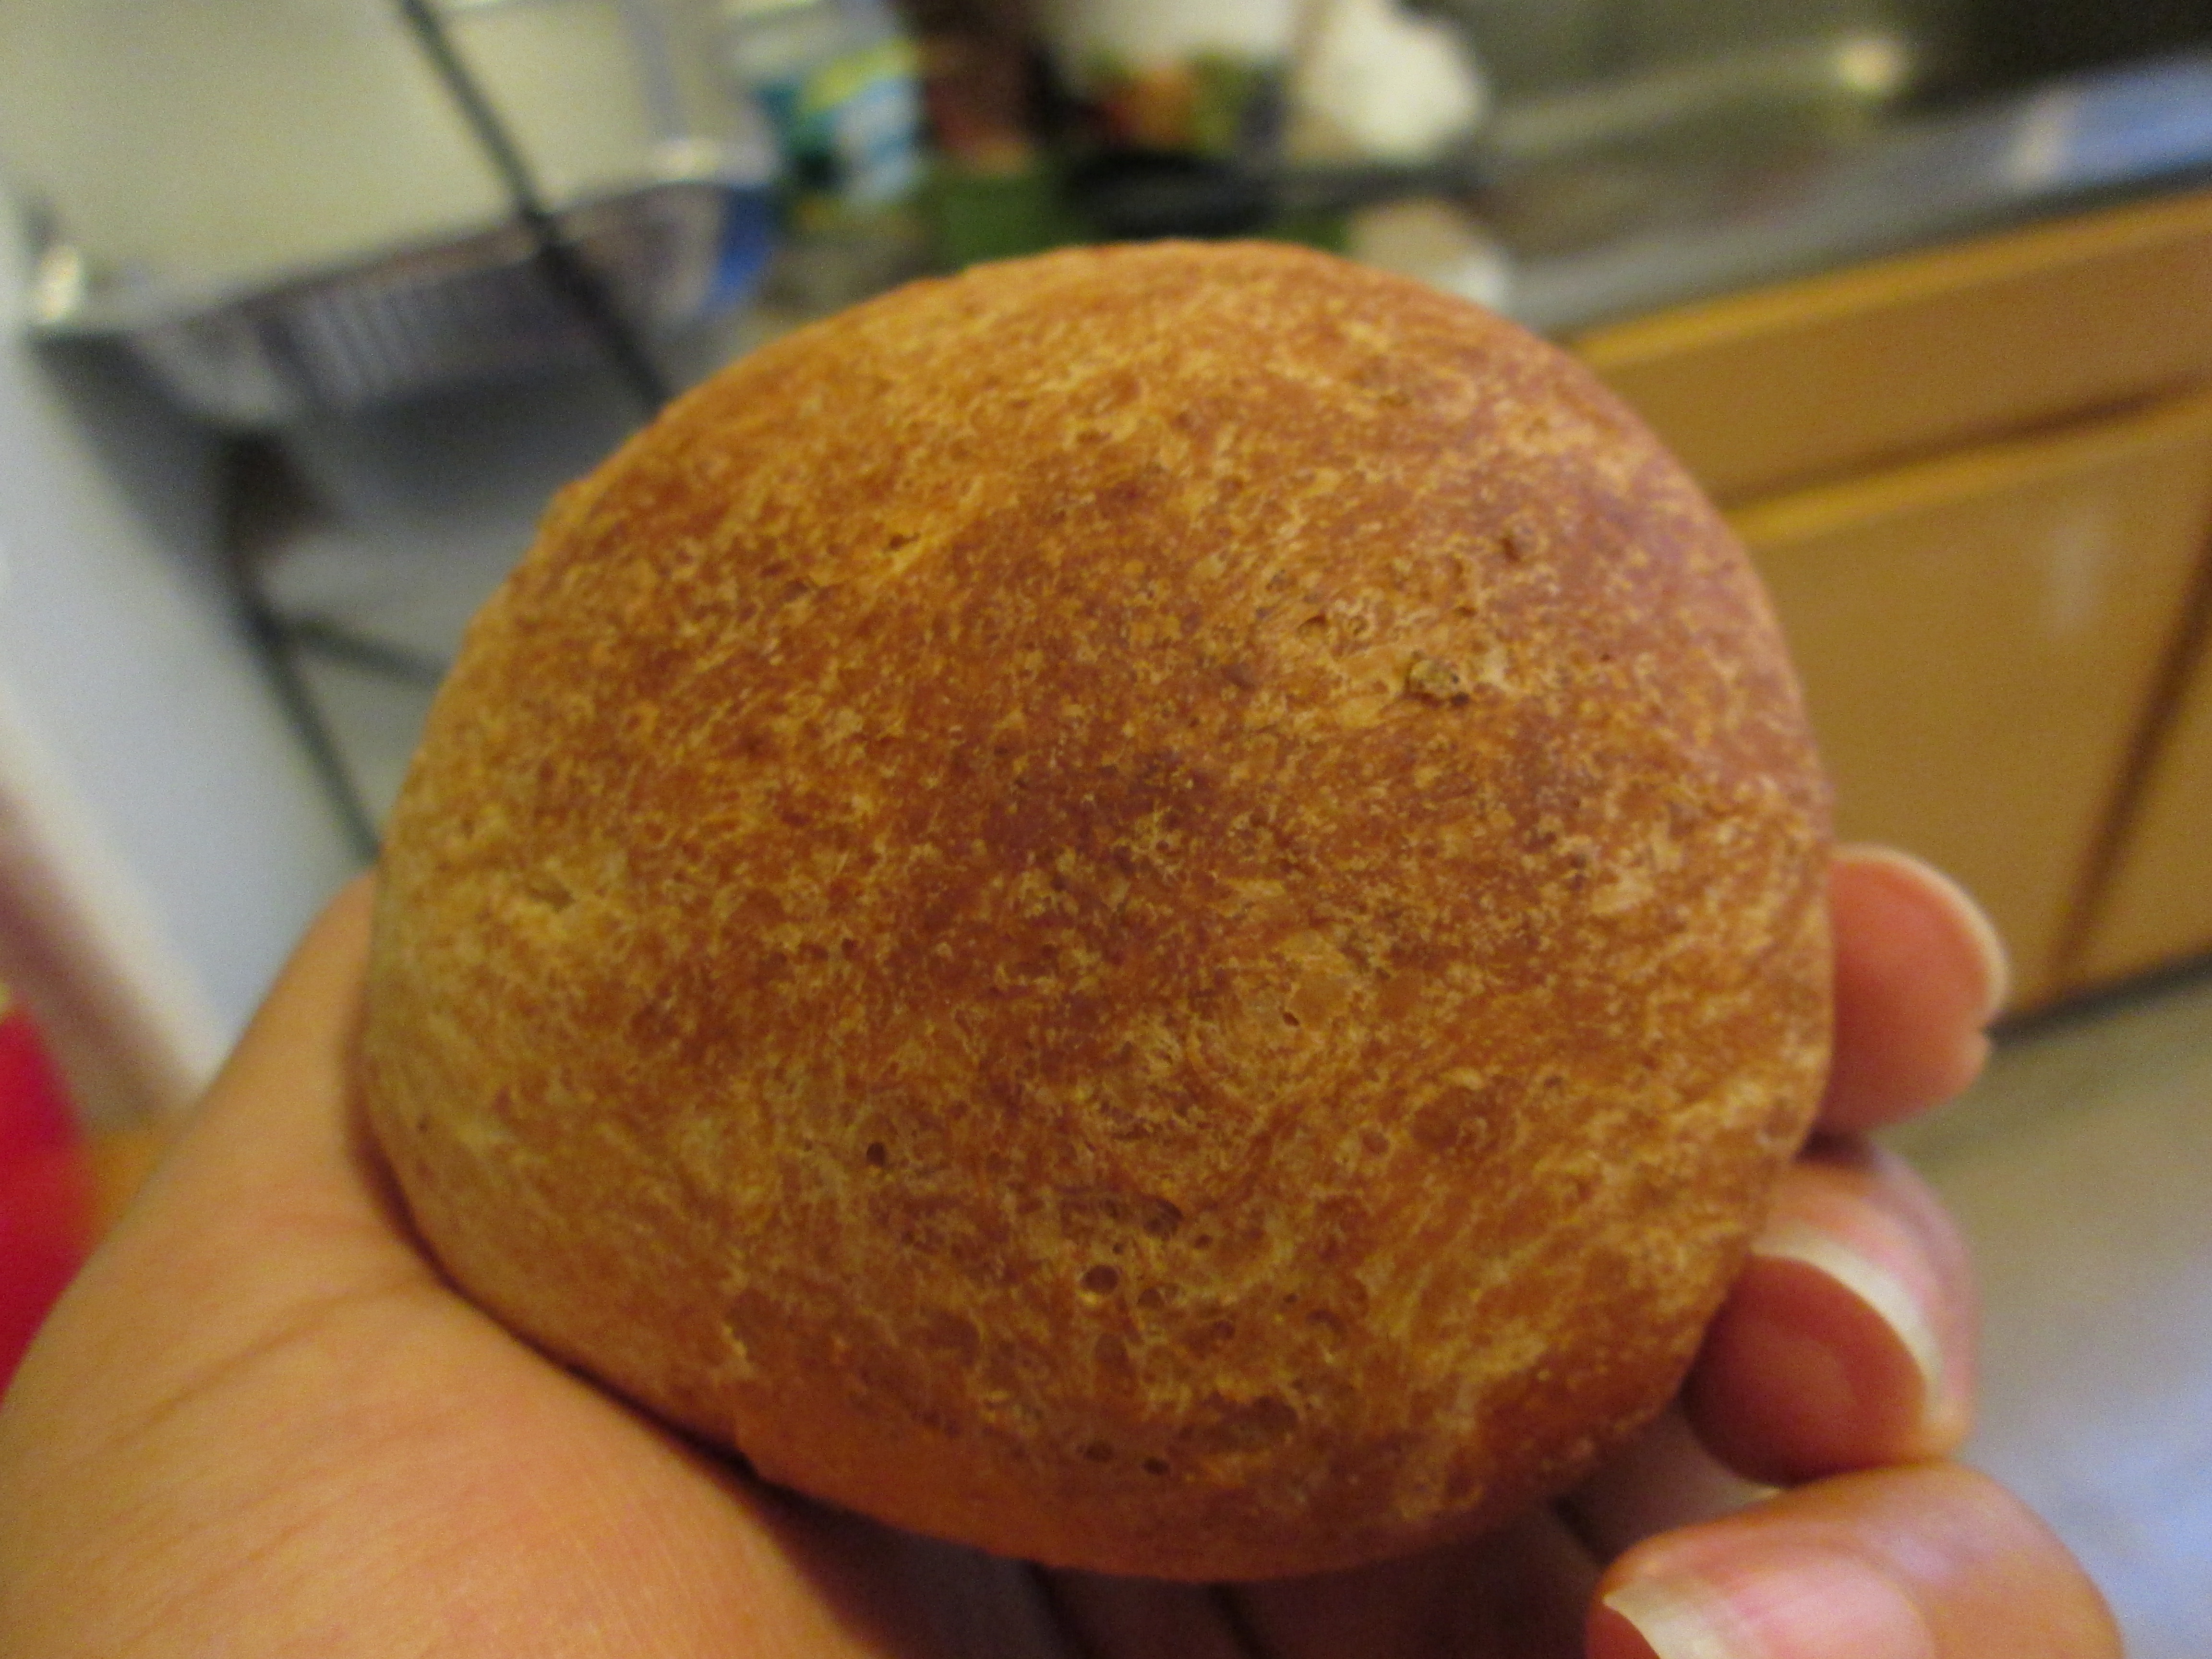
- Preheat your oven to 375F. Brush dough balls with melted butter and bake your rolls for 10-12 minutes.
Lucy’s Tips:
- The original recipe calls for only all-purpose flour and only 1/4 cup of sugar. Feel free to use either amounts of sugar, or types of flour.
- I weighed my dough prior to portioning, to ensure even rolls. You don’t have to but if you’re a stickler for accuracy like I am, you totally can.
- Make sure your water is not too hot! Water above 110F/45C can kill the yeast. Test the water by touching it, making sure it’s only a little warmer than body temperature. Or use your thermometer, if you have one.
- These rolls can easily be frozen. Flash freeze your rolls on the baking sheet after forming them. Thaw and let rise an hour before baking.
- The original recipe also calls for heating up your oven to 400F. I advise against this because it has led me to burnt bottoms and pale tops. Check the temperature of your oven to make sure it doesn’t run as hot, and keep an eye on your rolls!
- If they still have pale tops, put them under the broiler for 2-3 minutes.

