
As evidenced by several posts on here, I am very much a traditionalist. I love celebrating holidays, more so when they celebrate the people I love. Father’s day was this Sunday, and I couldn’t really go without making anything. As a kid, I used to hand make cards for every occasion. Tons of construction paper, crayons, markers, glue, and glitter strewn everywhere as I created a card with a badly drawn picture and a heartfelt message. While I don’t make cards anymore (I should really get back into that, though), I still find a way to make something awesome with a ton of love inside it; just like my mami taught me.
My dad is a really complicated guy. So much so, it’s hard to understand what he wants/means/says at any given time. We grew up with his naturally stern voice guiding us through life. He was very particular about how he wanted things done, and wasn’t afraid to let anyone know that. I ended up picking up this trait to a degree; something which I’m still not sure is a good or bad thing.

We had a sort of strict upbringing that we now chalk up to my dad’s old age. Believe it or not, he’s from a different time (and I’m not just saying that). This is where another one of his traits, that I now possess, comes from; the aforementioned traditionalism. While his traditionalist ways have nothing in common with mine, it was evident that he liked things done the old fashioned way. He was more traditional in the sense of how my sister and I were raised, and wanted to do it like it was done ‘back in the day.’ There were certain things we could, couldn’t do, and still can’t do to this day because he still sees us as his little girls.
Before I made my move from observant child to baking ‘adult,’ my dad was the resident baker. Granted, it was box mix cakes and canned biscuits but it was still delicious and what we thought of as an amazing feat. I even inherited the old avocado green Presto hand mixer he got in a garage sale when my sister and I were little. The mixer didn’t make it to this day (ahem, I might’ve killed it with some cookie dough) but I managed to get some use out of it. Now that I do all the baking, I take advantage of it and make things for special days in lieu of an actual gift. Sounds like a cop out but who doesn’t like baked goods?
Two years ago for Father’s day, I made him an ice cream cake. It was a pound cake with rum raisin ice cream and a toasted coconut topping. It was my very first time making ice cream, which was a giant feat because I don’t have an ice cream machine. I used David Lebovitz’s delicious rum raisin recipe and one of his no churn methods; frequent whisking during the freezing process to break up large ice crystals. It was a lengthy and part laborous process but it was worth it. With it, I baked a pound cake to serve as the bottom layer of the ice cream cake. I didn’t freeze the cake long enough, and it ended up soaking up most of the ice cream layer. It was still amazingly delicious but it didn’t stay in two distinct layers.
This year, I wanted to do it again. Ice cream is a show stopping dessert, more when there’s a cake attached. It’s even more glorious once people realize that you made it yourself, and that you did it without an ice cream maker. This time, I wanted something simpler. I originally wanted to repeat the rum raisin flavor but poor planning didn’t let me. Instead, I stuck with vanilla. I found out about this awesome way to make a no churn ice cream that was still soft and scoopable, without any noticeable ice crystals and a silky mouth feel. I was skeptical about the method, but it quickly gained my trust. There is no cooked custard in this recipe, which is great for anyone who finds that process daunting (it isn’t but the thought of maybe scrambling the eggs is stressful). It’s just three simple ingredients; sweetened condensed milk, heavy cream, and vanilla extract. I absolutely love this because not only is it easy, but it leaves a lot of room for customization; there’s no telling what other flavors this base can be made into.

It took me two days to complete the cake. Not because of complicated instructions or anything, but because all the elements require freezing prior to assembly. I made the cake layer and ice cream Saturday morning. I popped the ice cream in the freezer, and hyper wrapped the cake and froze it after it cooled completely. This is where I messed up the last time I made an ice cream cake, so I made sure I left both elements in the freezer as long as possible. Sunday morning, I assembled the cake. First, I leveled out the cake a little bit. My oven is lopsided, resulting in asymmetrical cakes every time. I put the cake layer inside of a springform pan lined with wax paper. I’m paranoid about things staying stuck in places, so I put it in for security purposes. Next, I scooped on the ice cream. This is the part where I was amazed. The ice cream scooped beautifully! Even my mom was shocked, stating that it looked just like the store bought stuff! This is why I love baking; I always feel like a mad scientist when things work out. I smoothed down the ice cream into an even layer and hyper wrapped the entire pan in plastic wrap before returning it to the freezer.
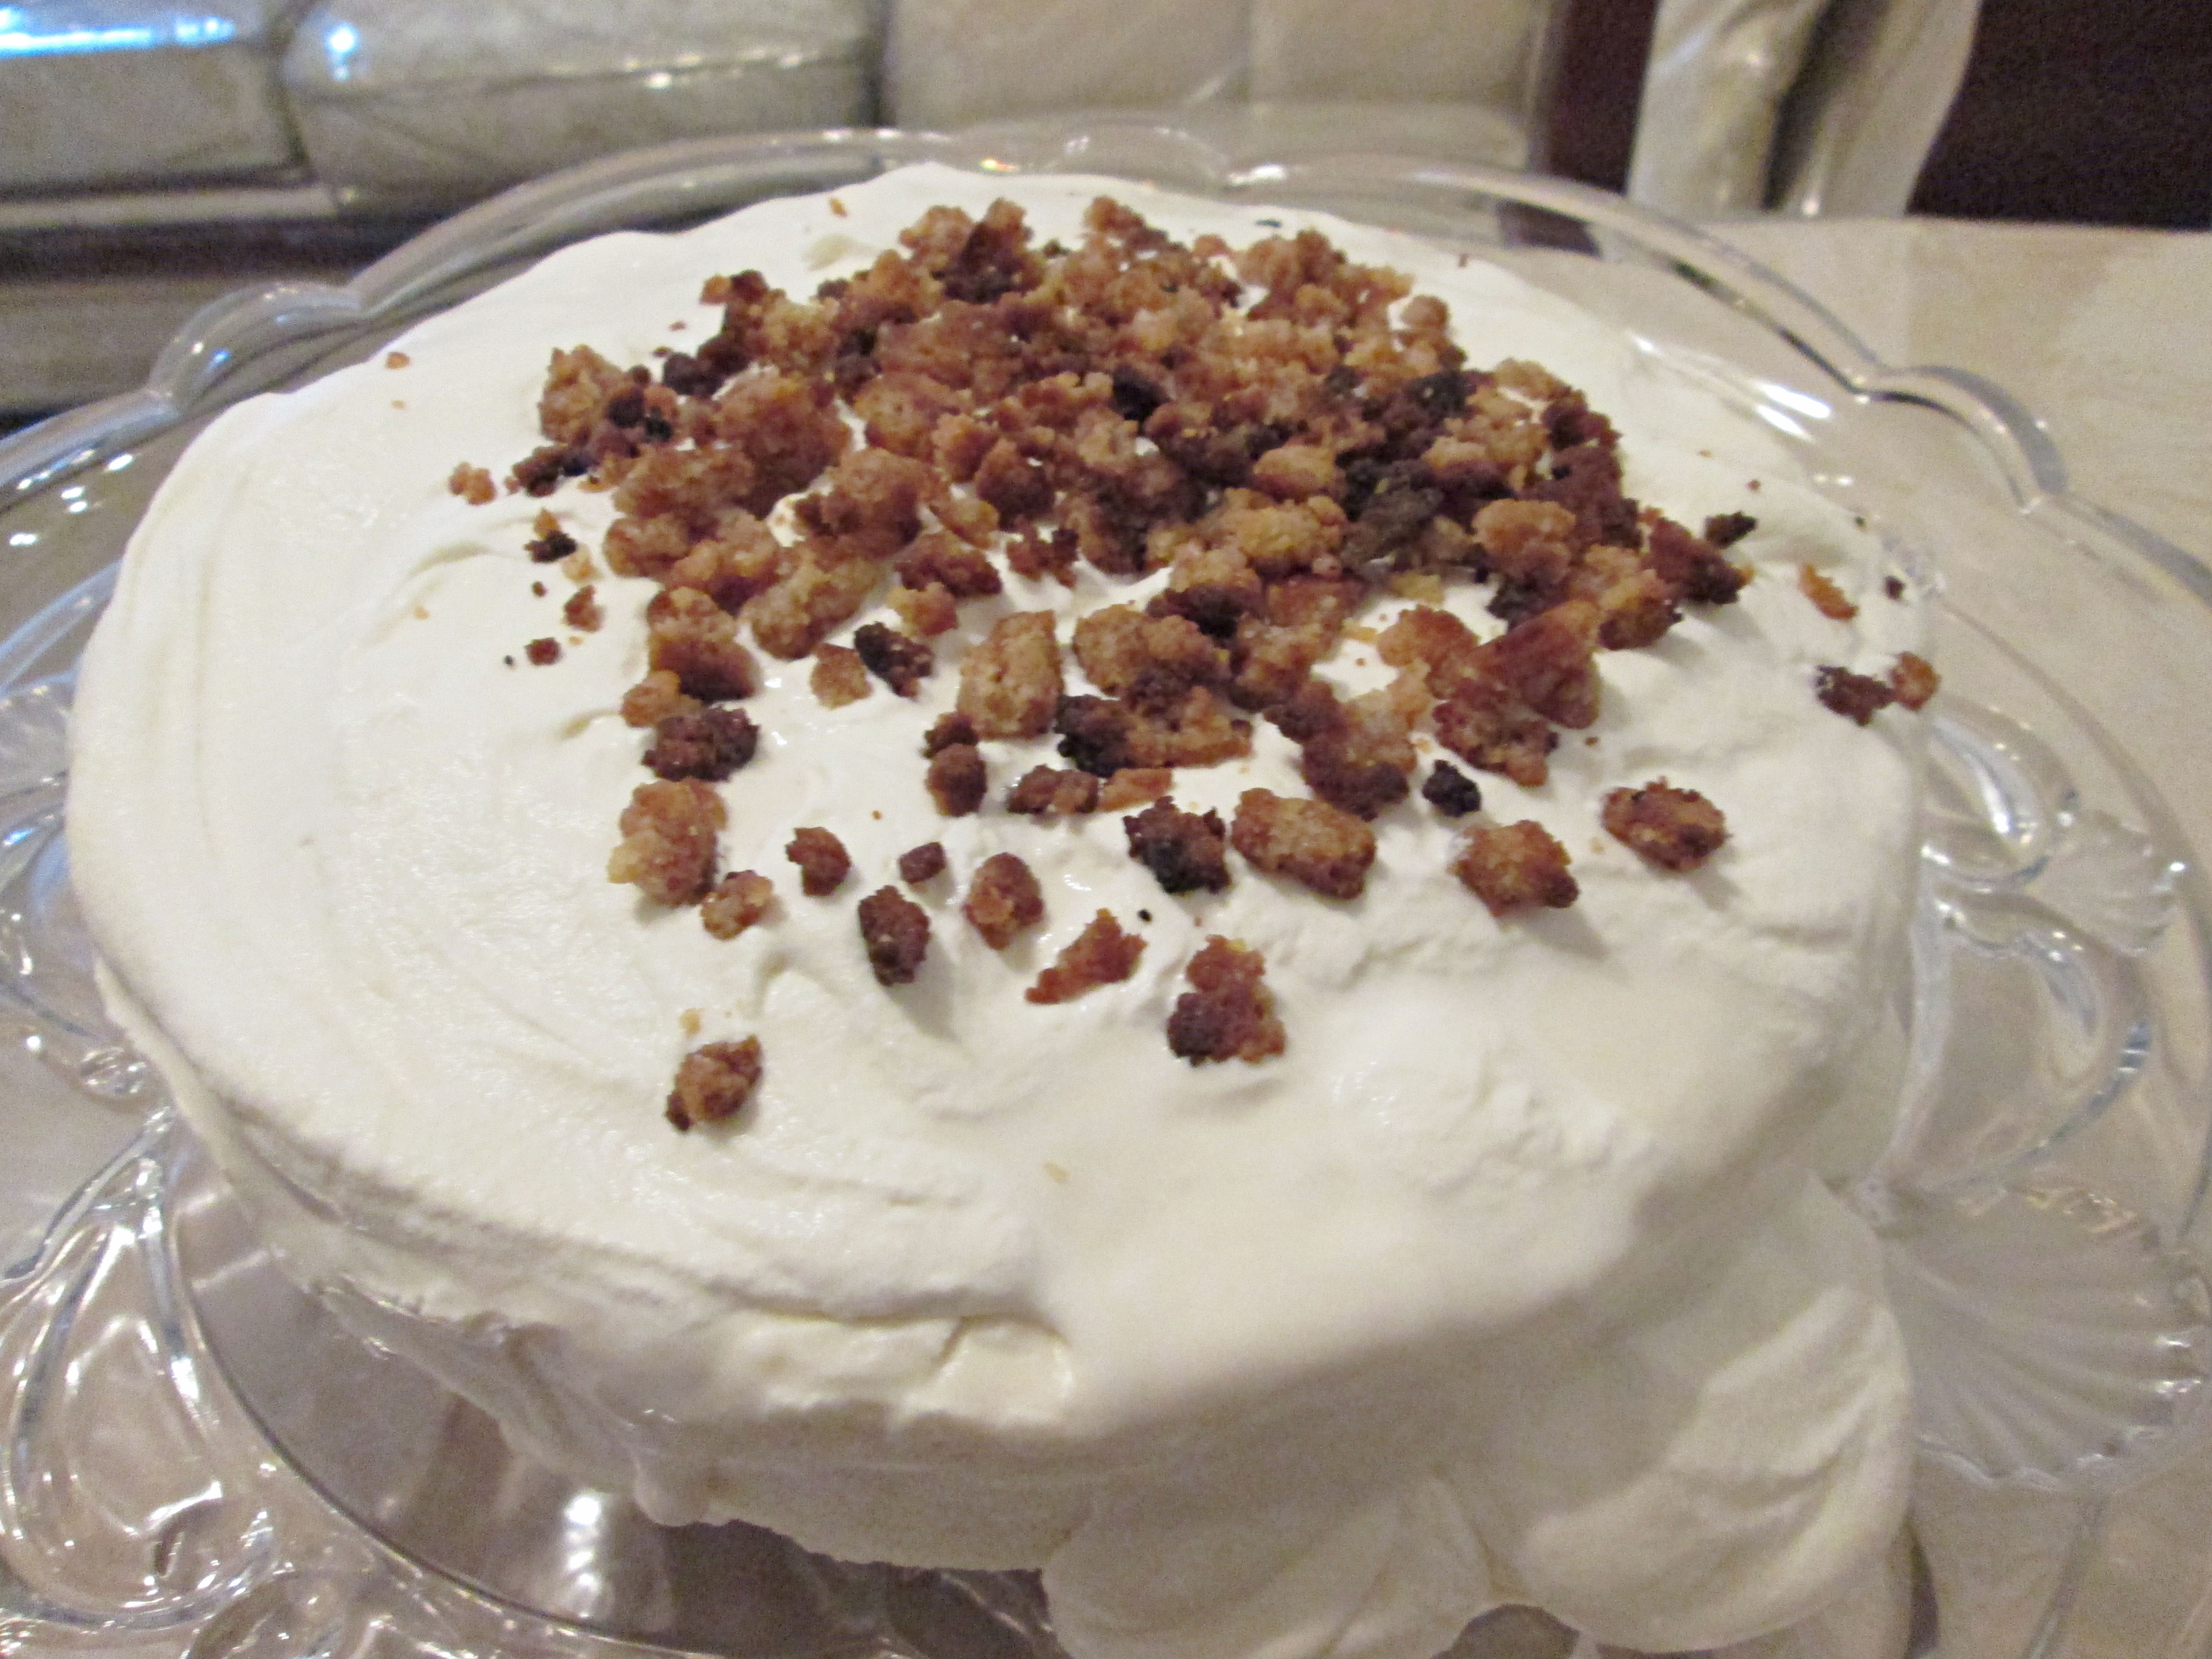
As for the cake scraps, I had an idea for those. Ice cream cakes always have some sort of crunchy element; be it candy pieces or crushed cookies. I took advantage of the fact that I’d have some cake scraps, so I crumbled it up, tossed it with some melted butter, and popped in the toaster oven until they were golden brown and toasty. Instead of putting it in the middle layer, I left it as garnish. I didn’t want them to get too soggy!

The cake came out amazing! It started melting almost immediately, but it was really creamy and smooth. It tasted like the real ice cream! No one could tell it was homemade and made without a custard base. The cake was soft, dense, and went well with the vanilla ice cream. The cake crunchies were an excellent texture change, and added depth to the creamy ice cream. I also made some whipped cream in a jar. It totally does work! Took a while but it turned into luscious whipped cream in minutes.
My dad liked the cake, which was more than I was hoping for. These days we don’t exactly see eye to eye, but I know that he just wants what’s best for me and my sister. I just hope that my kids will one day get to know him and understand why I am the way I am.

- Makes 1 1/2 quarts
- 2 cups heavy cream, cold
- 1 14oz can sweetened condensed milk
- 2 teaspoons vanilla extract
- 2 tablespoons bourbon or any other dark rum (optional)
- Cake:
- Makes 1 9-inch round cake
- 1 stick of unsalted butter, room temperature
- 3/4 cup all-purpose flour
- 3/4 cup cake flour, sifted
- 1/2 tablespoon baking powder
- 1/4 teaspoon salt
- 3/4 cup + 2 tablespoons sugar
- 2 eggs
- 1 tsp vanilla extract
- 1/2 cup + 2 tablespoons milk
- For the ice cream:
- In a medium sized bowl, combine the sweetened condensed milk, vanilla, and bourbon or rum (if using). Set aside.
- In a separate large bowl, whip the heavy cream to stiff peaks, about three minutes. Fold the cream into the sweetened condensed milk mix carefully. Pour into a loaf pan or plastic container with lid, and freeze for six hours or overnight.
- For the cake:
- Preheat oven to 350F. Butter and flour a lined 9-inch round pan.
- In a medium bowl, sift together flours, baking powder, and salt. Set aside.
- In a large bowl, cream together the butter and sugar until creamy and pale, 3-4 minutes. Add eggs one at a time, and vanilla extract. With mixer on low, add the dry ingredients alternating with the milk; starting and ending with the dry. Beat until combined.
- Pour batter into the prepared pan, and bake in the preheated oven for 30-35 minutes until golden brown or a toothpick inserted in the center comes out clean.
- Transfer pan onto a wire rack to cool for 20 minutes. Invert cake, peel parchment, and continue to cool on the rack top side up.
- Cake Assembly:
- Cut a piece of wax paper a bit larger than a 9-inch springform pan. Place the wax paper over the bottom part of the pan, and hinge the circle over the paper. You want there to be a bit of overhang on the bottom for easy removal.
- Cut another piece of wax paper to line the sides of the pan. Again, make sure there’s a bit of overhang for easy removal. I used a long piece and cut it in half, lengthwise.
- Scoop ice cream onto the cake layer, and spread evenly. Smooth out the top, and cover with a piece of plastic wrap. Fold down the wax paper onto the plastic wrap. Cover the entire pan with plastic wrap, and freeze for at least four hours, or longer.
- To serve: unwrap the plastic wrap off the pan. Unhinge the springform, and remove the wax paper off the sides. Using the overhang from the bottom of the cake, lift the cake off of the bottom part of the pan. Carefully peel the paper off the cake, and place the cake on your desired plate. Top with whipped cream and cake crunchies, and serve.
No Churn Vanilla Ice Cream adapted from Martha Stewart
Yellow Butter Cake adapted from Martha Stewart

