
Biscuits are one of the perfect breakfast foods; next to pancakes and oatmeal, of course. Yes, oatmeal is in the top three but that’s a story for another time. Anyway, biscuits are perfect because like rolls, they are the perfect vehicle for a number of different fillings and toppings, and don’t necessarily have to be exclusive to breakfast.
When we think of biscuits, the word “buttermilk” is not that far away. Buttermilk biscuits are traditional, although they can also be made with heavy cream, too. When I was a kid, the only biscuits that were made in my house were the ones that came in the can. One twist (and maybe a bang) and the carton would pop, revealing one long, indented log of dough. My folks were fans of the ones that had those peelable layers but I was a classic biscuit kind of girl. We bought those on and off for years, and then eventually moved on to the frozen kind. We’d buy this huge bag of frozen biscuit pucks that’d thaw on the way home from the store; turning into one giant biscuit conglomerate that was impossible to separate without any casualties. Obviously, we stopped buying those as well.


It had been a long minute since we had biscuits, but I missed them and often longed for them at breakfast time. Armed with a carton of buttermilk that recently came into my possession, it was time to quell my craving. I went to the trusty Smitten Kitchen for a foolproof recipe that can be put together in minutes. These biscuits are basically a one bowl wonder that can be done two ways; drop or cut outs.


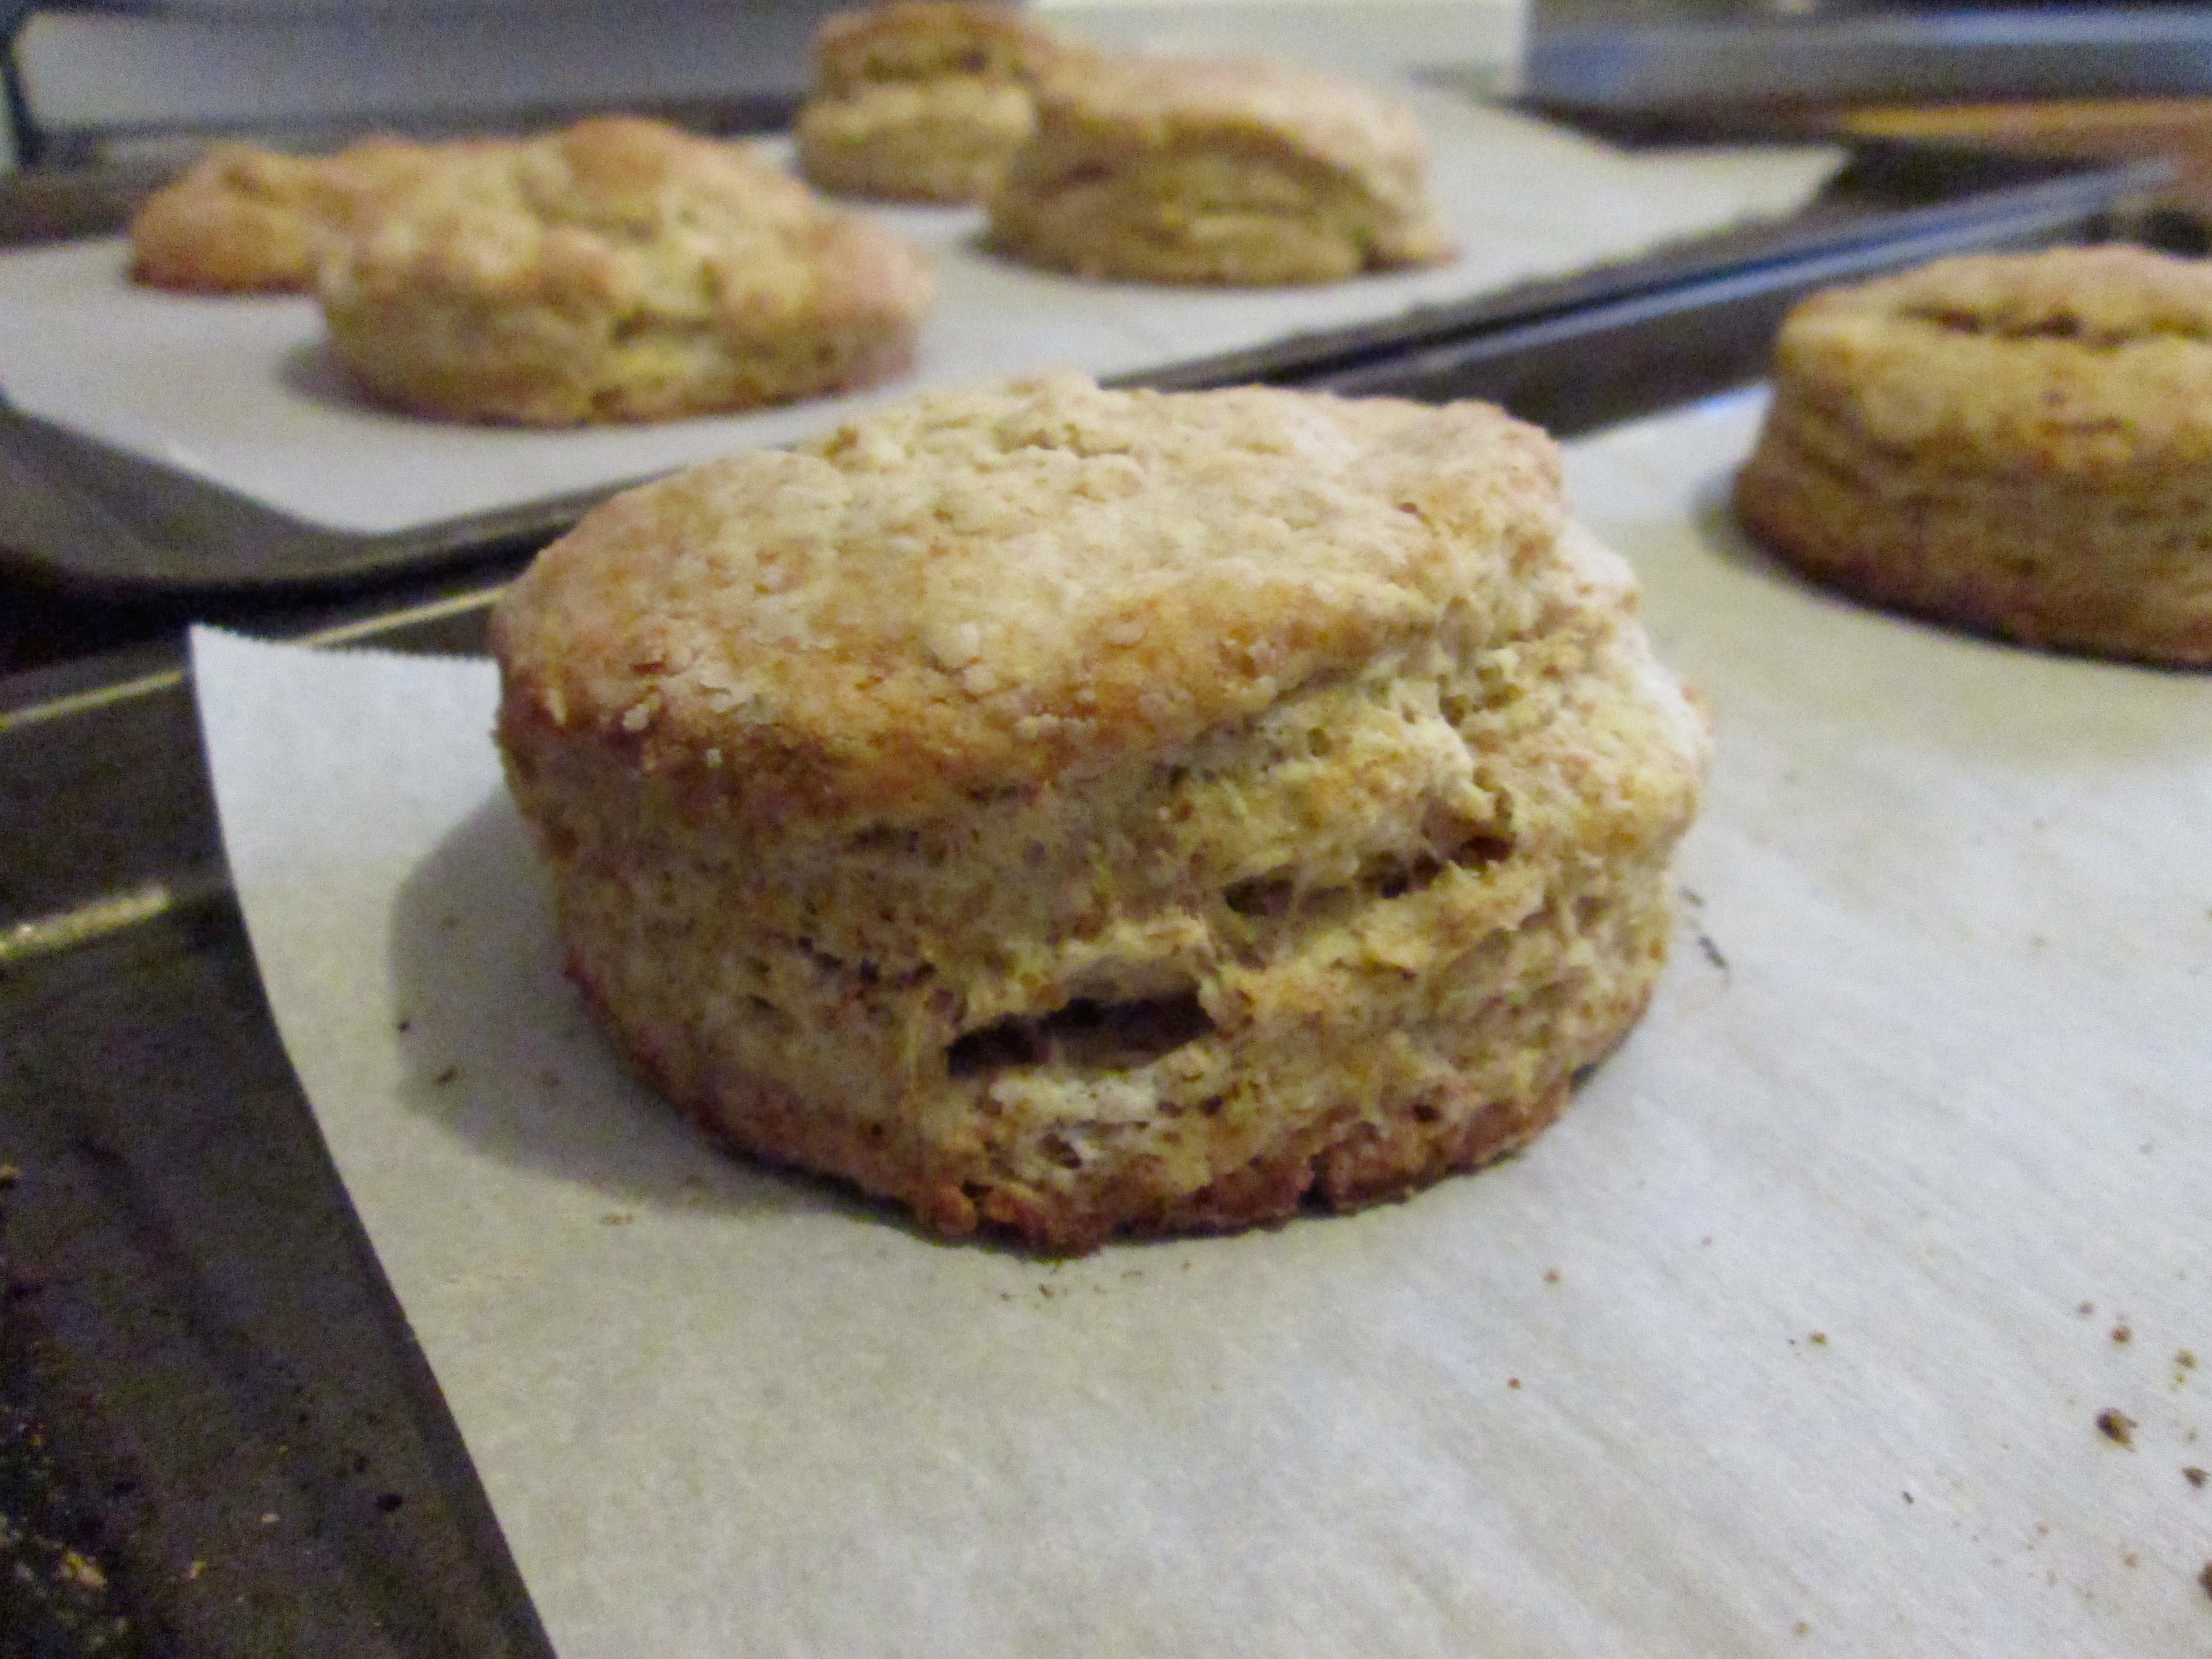
I made these twice within a week and decided to try them both ways. I didn’t make many adjustments to the recipe; aside from switching half of the flour for whole wheat. The dough comes together fairly quickly and is easy to work with. For the drop biscuits, I used my 1/4 cup measure to spoon out them out onto the baking sheets; just to make sure I got the right amount per biscuit. For the cut outs, I patted the dough onto a floured surface and cut out the rings using a biscuit cutter (that you may have seen in last week’s post). The important tip Deb outlined in the cut outs is DO NOT TWIST THE BISCUIT CUTTER WHEN CUTTING OUT THE BISCUIT. She says this limits the biscuits from rising into fluffy layers and I believe she’s right. I mean, I didn’t want to try twisting it to see what would happen but it’s science! So, she’s got a point.


Anyway you make these biscuits, they come out fluffy, buttery and delicious. The taste was reminiscent of a scone, which makes sense as biscuits and scones are closely related. The whole wheat flour lends a bit of nuttiness to the tender and crumbly biscuit. I personally prefer the drop biscuit because there’s less mess/clean up, and because the uneven surface lends to more brown and crunchy bits. With that, my biscuit craving was finally settled. Like a fresh loaf of sandwich bread, homemade biscuits will always be within reach. Whether you decide on dropping them or cutting them out, these will make a great addition to your breakfast table anytime.


Buttermilk Biscuits – adapted from Smitten Kitchen
makes about 10 biscuits; depending on size and thickness
- 1 cup whole wheat flour
- 1 1/4 cups all-purpose flour
- 2 teaspoons to 1 1/2 tablespoons sugar
- 1 tablespoon baking powder
- 3/4 teaspoon table salt
- 3/4 teaspoon baking soda
- 9 tablespoons chilled unsalted butter, cut into small chunks
- 3/4 cup buttermilk
Directions:
- Heat oven to 400 °F. Line two baking sheets with parchment paper.
- Whisk flour(s), sugar, baking powder, salt and baking soda in large, wide bowl. Using fingertips, a pastry blender or two forks, work butter into dry ingredients until the mixture resembles a coarse meal. The butter pieces should be about the size of peas; don’t fret if there are bigger pieces.
- Add buttermilk and stir until large, craggy clumps form. Reach hands into bowl and knead mixture briefly until it just holds together.
- To form biscuit rounds/cut outs: Transfer dough to floured counter and pat out until about 1/2 to 3/4-inch thick. Using a round cutter (2 inches for regular sized biscuits, 3 inches for the monstrous ones), press straight down — twisting produces less layered sides — and transfer rounds to prepared sheets, spacing two inches apart.
- To make drop biscuits: Drop 1/4-cup spoonfuls onto baking sheets, spacing two inches apart.
- Both methods:Bake until biscuits are golden brown on top, about 12 to 15 minutes. Cool slightly, and serve warm.
Lucy’s Tips:
- I used 1 tbsp sugar in my biscuits; not too sweet or too savory. Add according to your desired sweetness.
- My favorite ways to eat a biscuit is with sausages, scrambled eggs, and cheese. I also love them with butter or plain. Serve these babies up with whatever you like; butter, jam, eggs done any way, cheese, lox, ham, etc. The options are endless!

