
Happy Valentine’s Day! I planned this post, at least a month in advance. That’s just my style; I plan as far in advanced as I can. But no matter how much I plan and prepare, something almost always goes wrong.
I knew I wanted to make something on theme for this week’s festivities. Valentine’s day is one of the big candy holidays, behind Halloween and Easter. The main sweet is obviously chocolate. I’m positive that everywhere you turned so far this month, there has been chocolate. One of my personal favorite chocolate desserts for Valentine’s day is definitely red velvet. The quintessential southern dessert is a perfect way to get your on theme chocolate fix because it is both red and chocolatey.

This is the second time I attempt anything red velvet, and the first time I try to make whoopie pies. And both times, there were major mishaps. The first try was a batch of red velvet cupcakes for my sister’s birthday a couple years ago. I used Magnolia Bakery’s recipe, and topped it with the classic cream cheese frosting. Somewhere in the recipe, I screwed something up because the cupcakes spread all over the tops of the pans instead of rising and doming. We had to basically cut the cupcakes out to get them off the pan. I felt defeated and worried I ruined my sister’s birthday. Despite this misstep, they came out delicious! They were fluffy and moist, and my sister loved them. Anything red velvet from that day forward, was a no brainer.
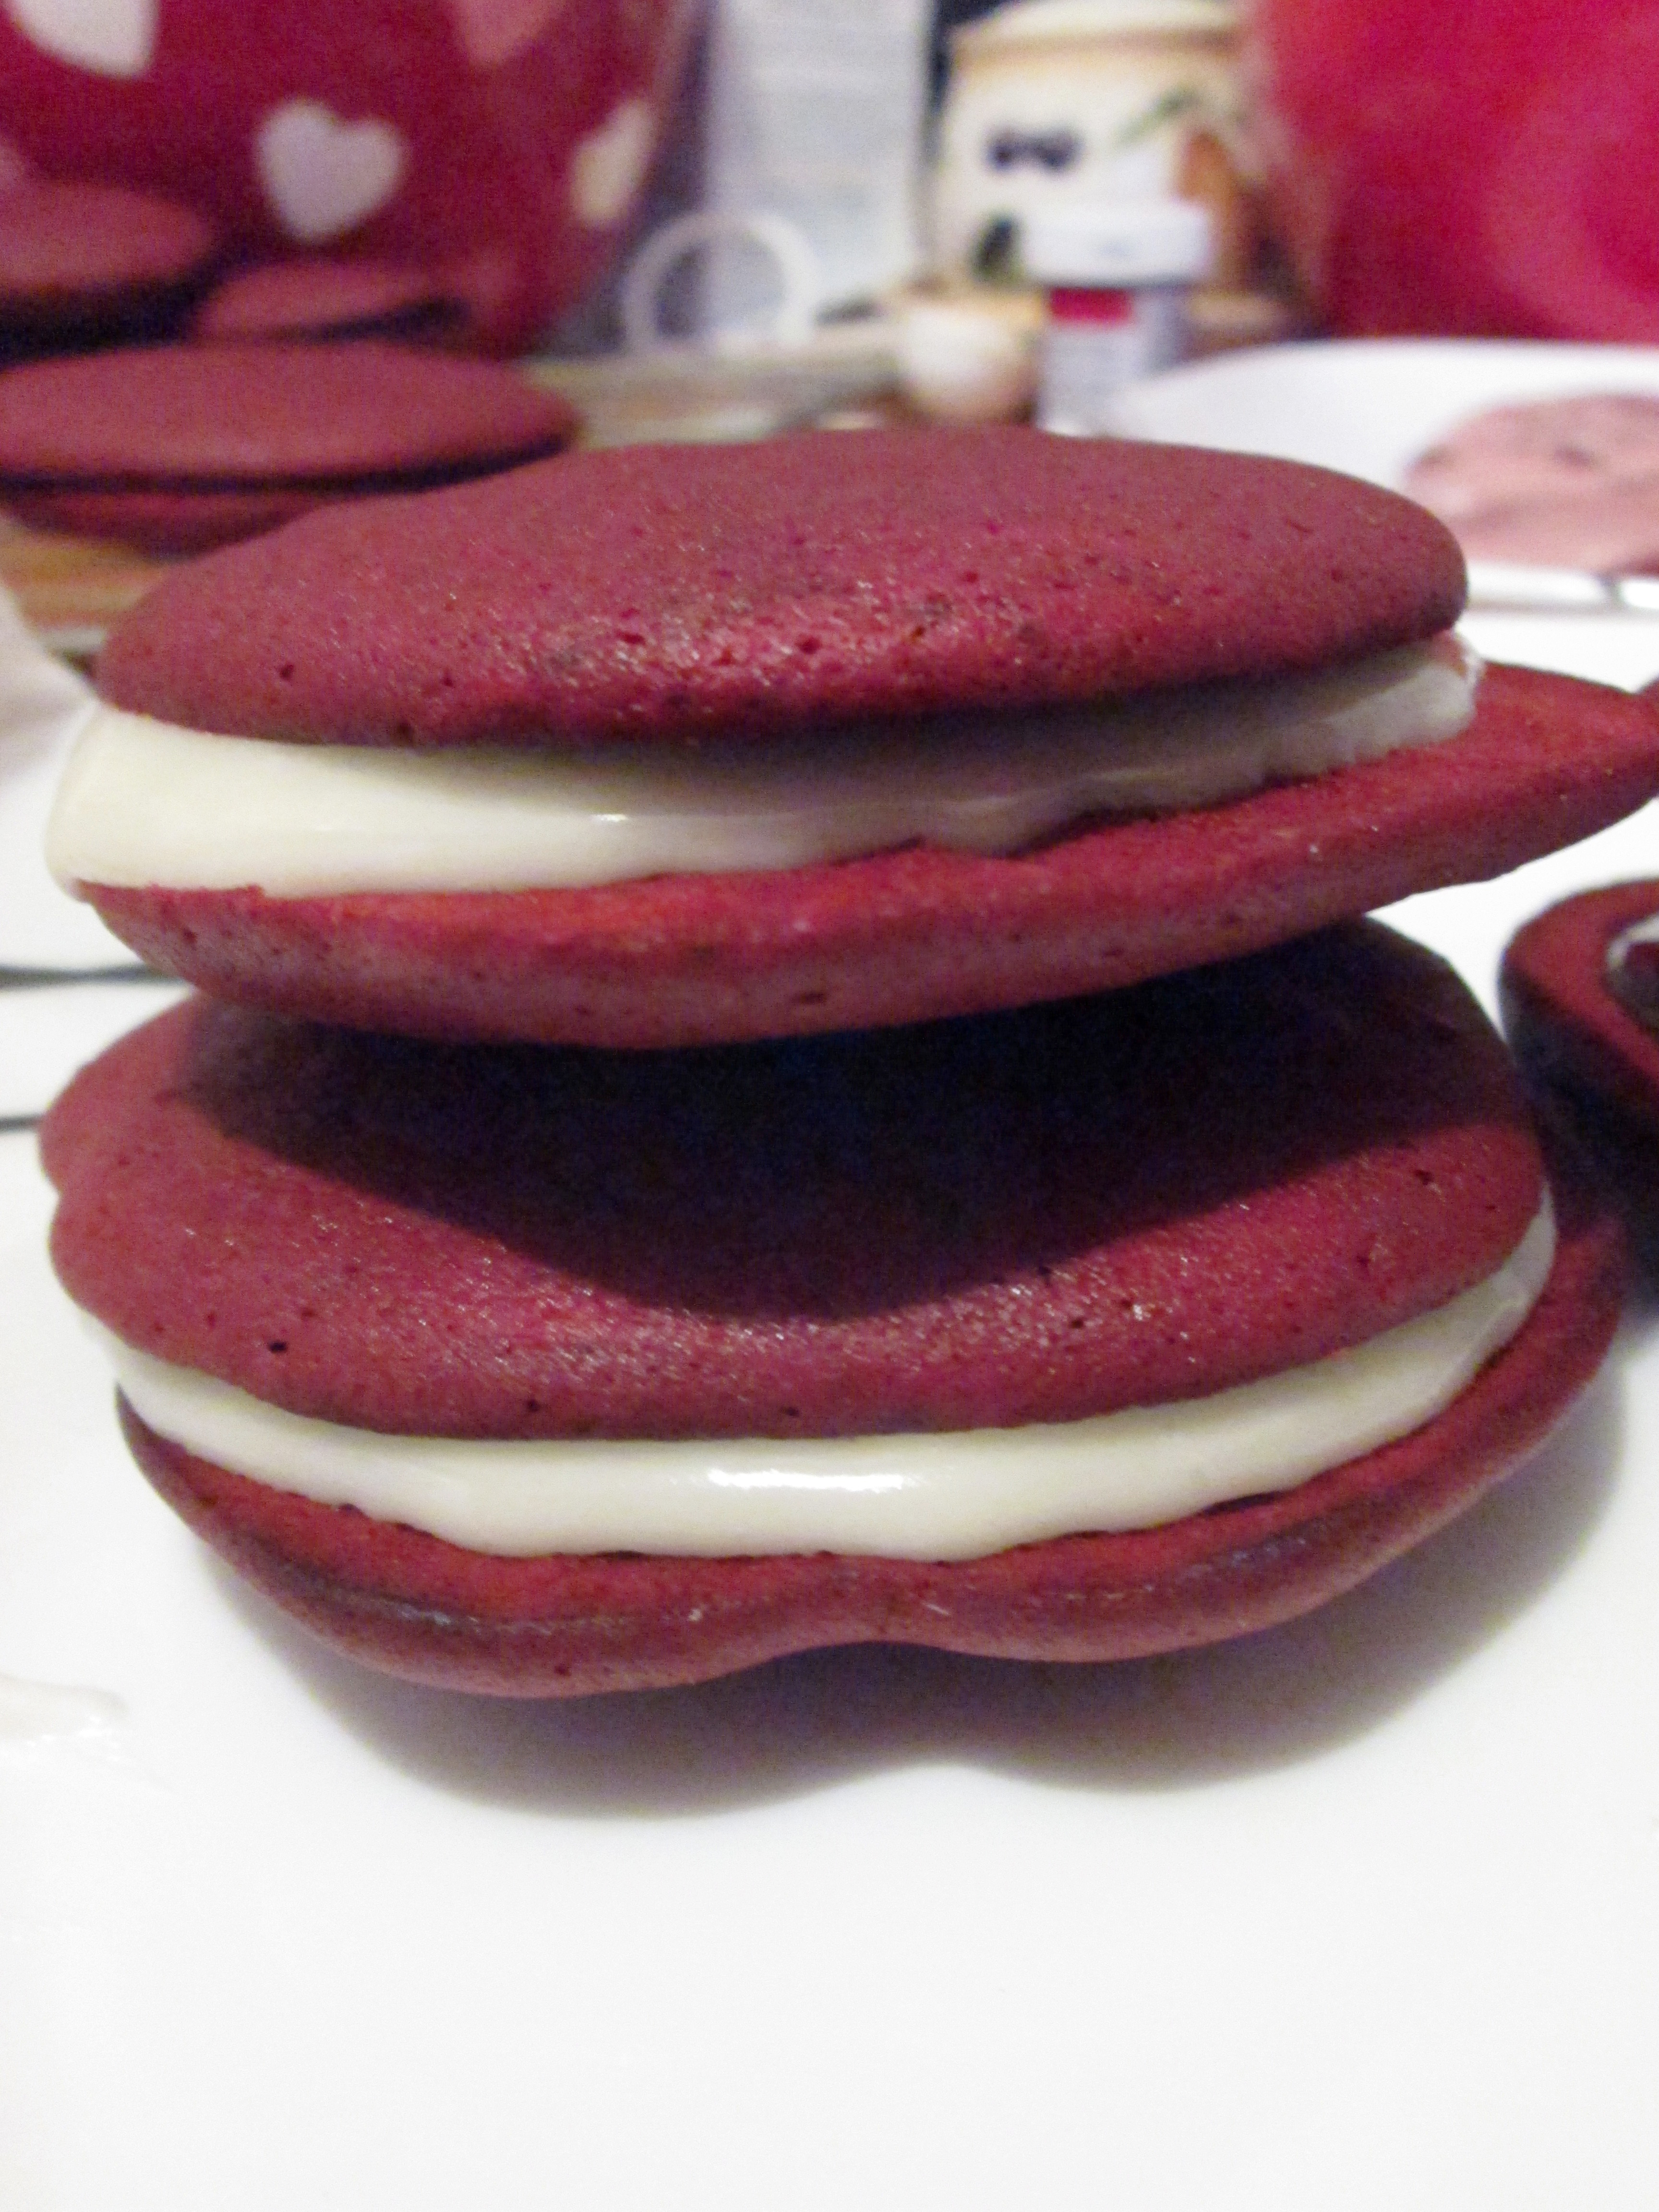
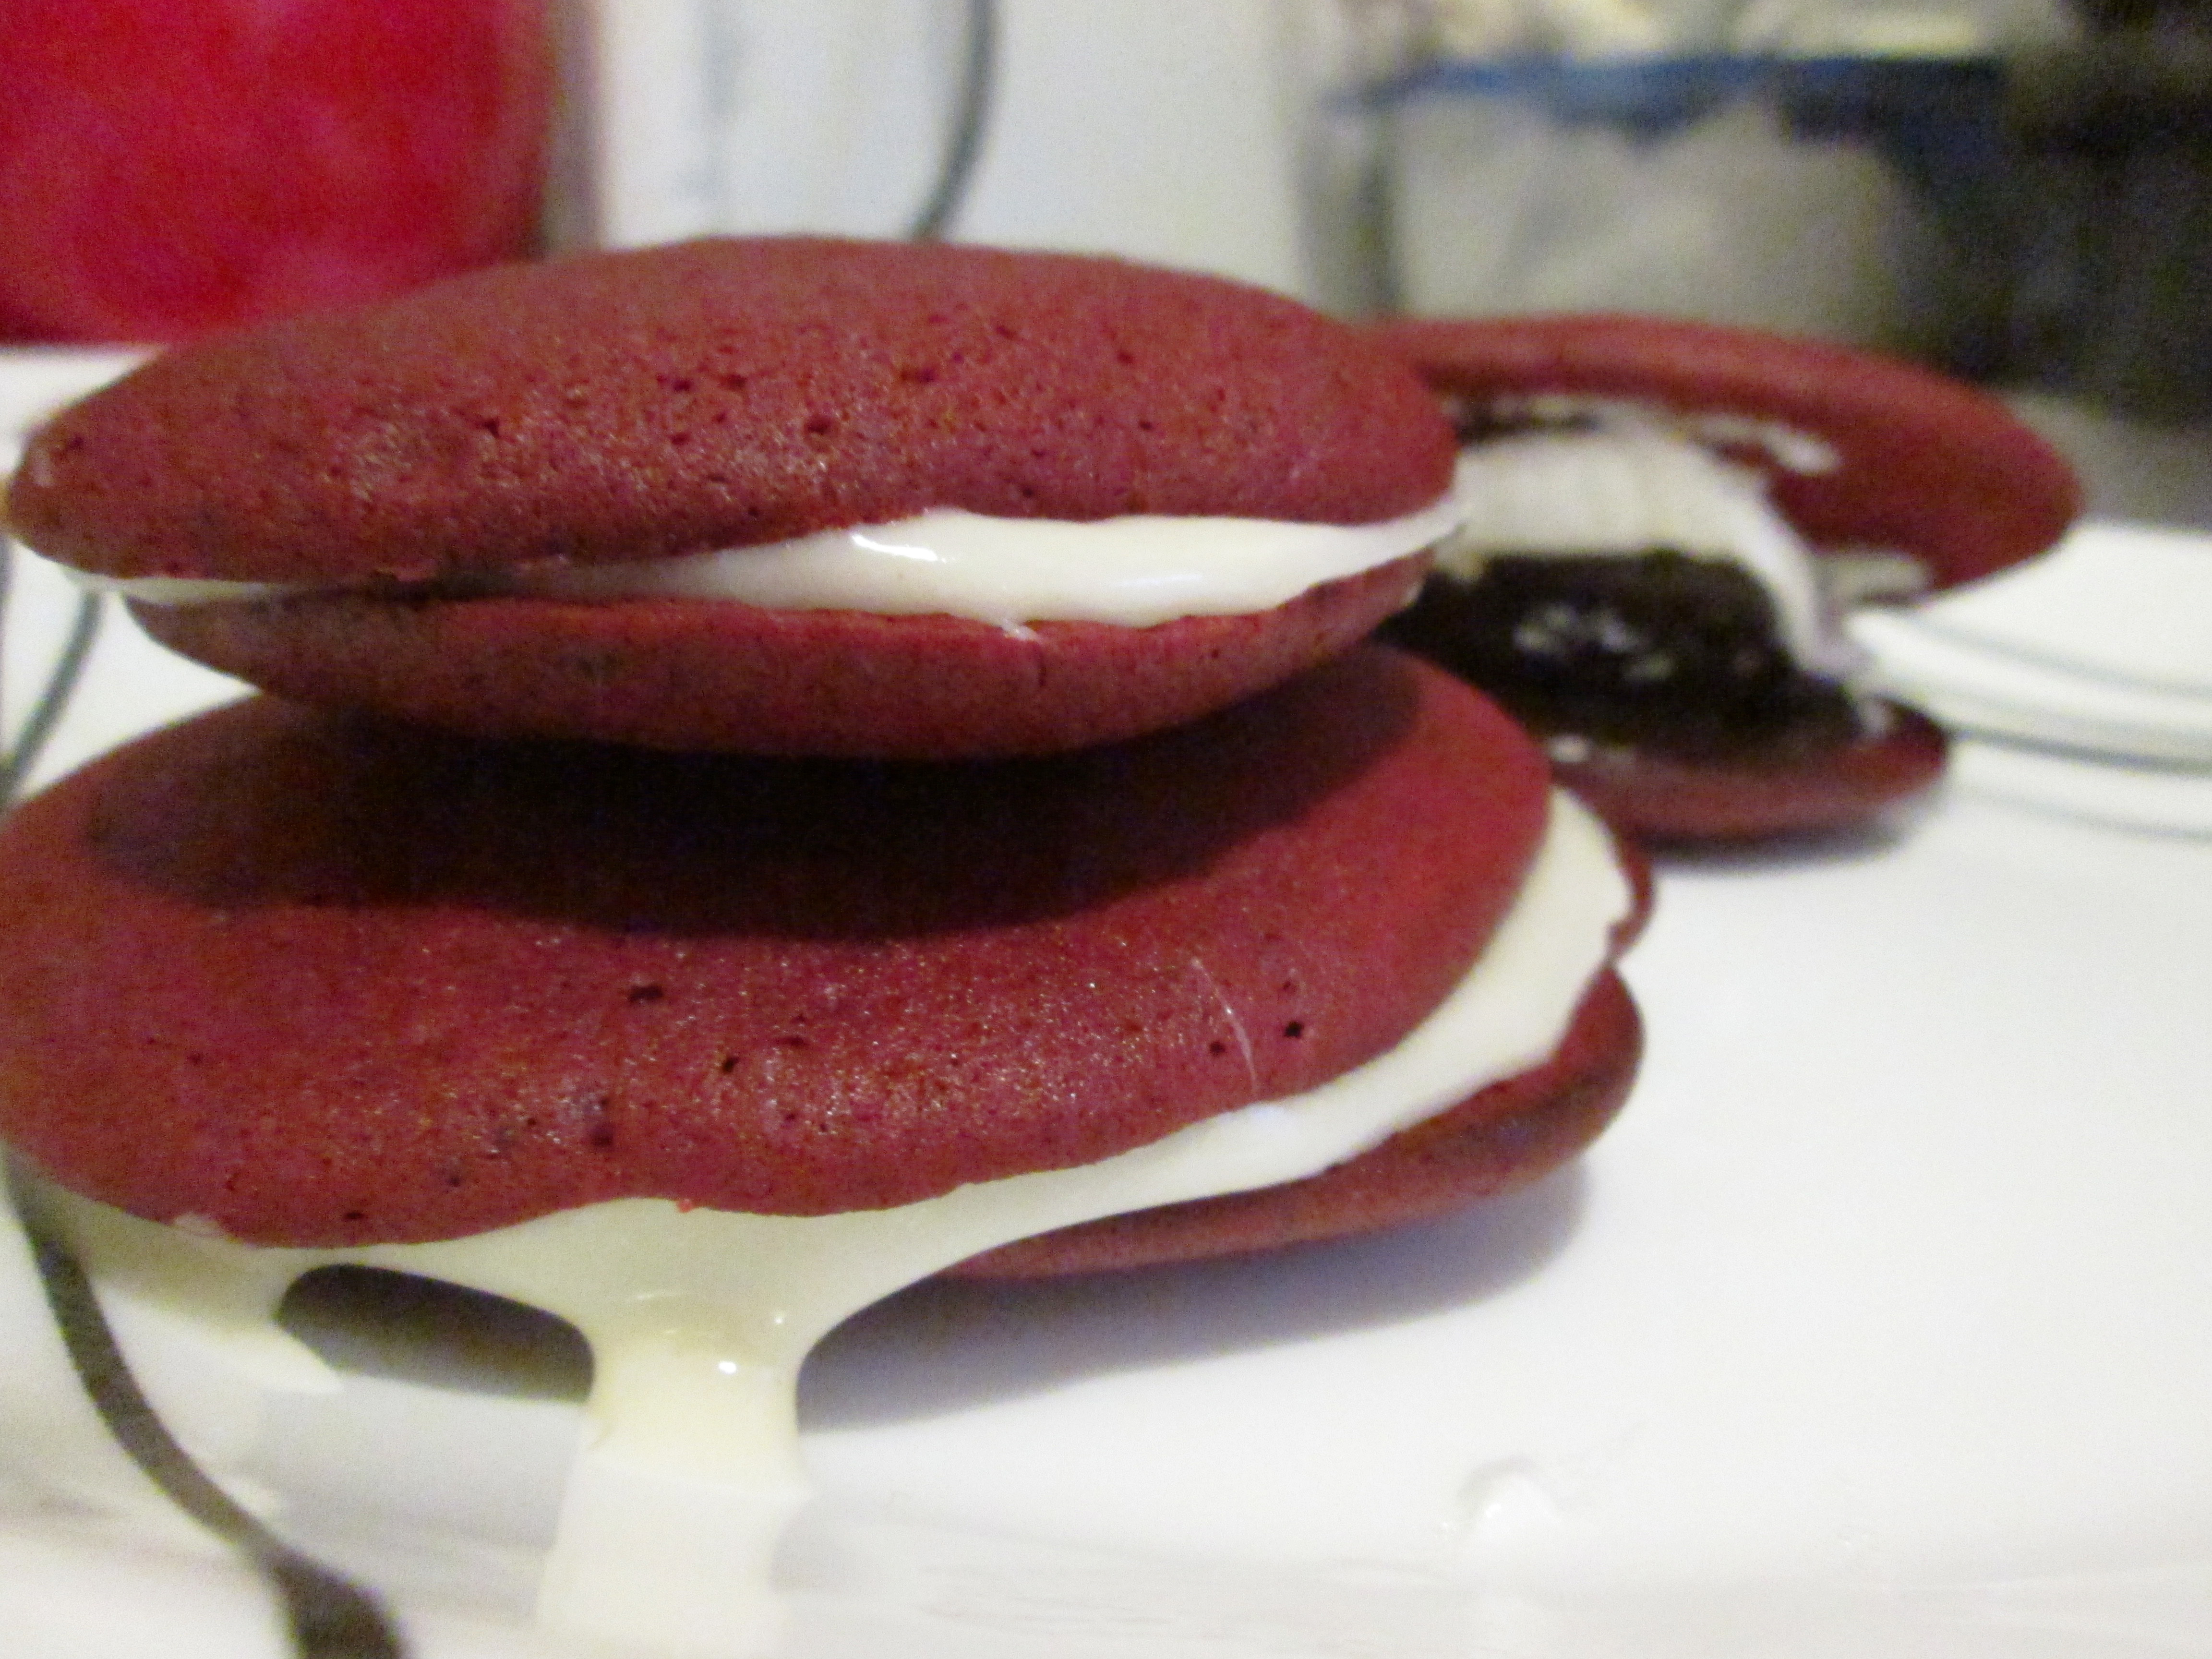
Since then, we haven’t really had anything red velvet; which is a disappointment in itself. We were excited about re-experiencing the magic, so I went with whoopie pies instead. Whoopie pies are basically two cake domes, sandwiched together with some sort of frosting or cream. The tops may resemble cookies but texturally, they are closer to a cake. Whoopie pies have gotten so popular lately, they have their own pans (which I think is absolutely ridiculous).
Anyway, I was pretty much seduced by Jonathan’s recipe and his amazing pictures on his blog, The Candid Appetite. I wanted to replicate his results SO BAD. We all know we eat with our eyes first, so getting these right was very important. Except, that’s where everything went wrong.
I set up my mise-en-place, and had my recipe written out and posted to the refrigerator for easy viewing. I pretty much followed everything verbatim except that I messed up two crucial steps to the whole recipe. Firstly, I listened to my baker’s instinct and took out all of my refrigerated ingredients so that they’ll be room temp by the time I was ready to bake. Usually, I ignore this instinct as I rarely remember to do this unless directly stated. For some reason, I did it yesterday; even though it wasn’t stated in the recipe. The implication of this step? My batter was very, very runny. The cakes spread out into odd, oblong shapes instead of the cute and uniform circles I longed for. For the second batch, I popped the batter into the fridge while I waited for the first batch. That seemed to help but they still spread out into weird circle like shapes.


My second misstep was almost a huge one. I almost forgot the sugar! I had it set out in front of me but I never put it in the batter! If it wasn’t for my sister, who was sitting at the table while I mixed, I would’ve left it out completely. I threw it in before I finished the batter, hoping I didn’t ruin the recipe.
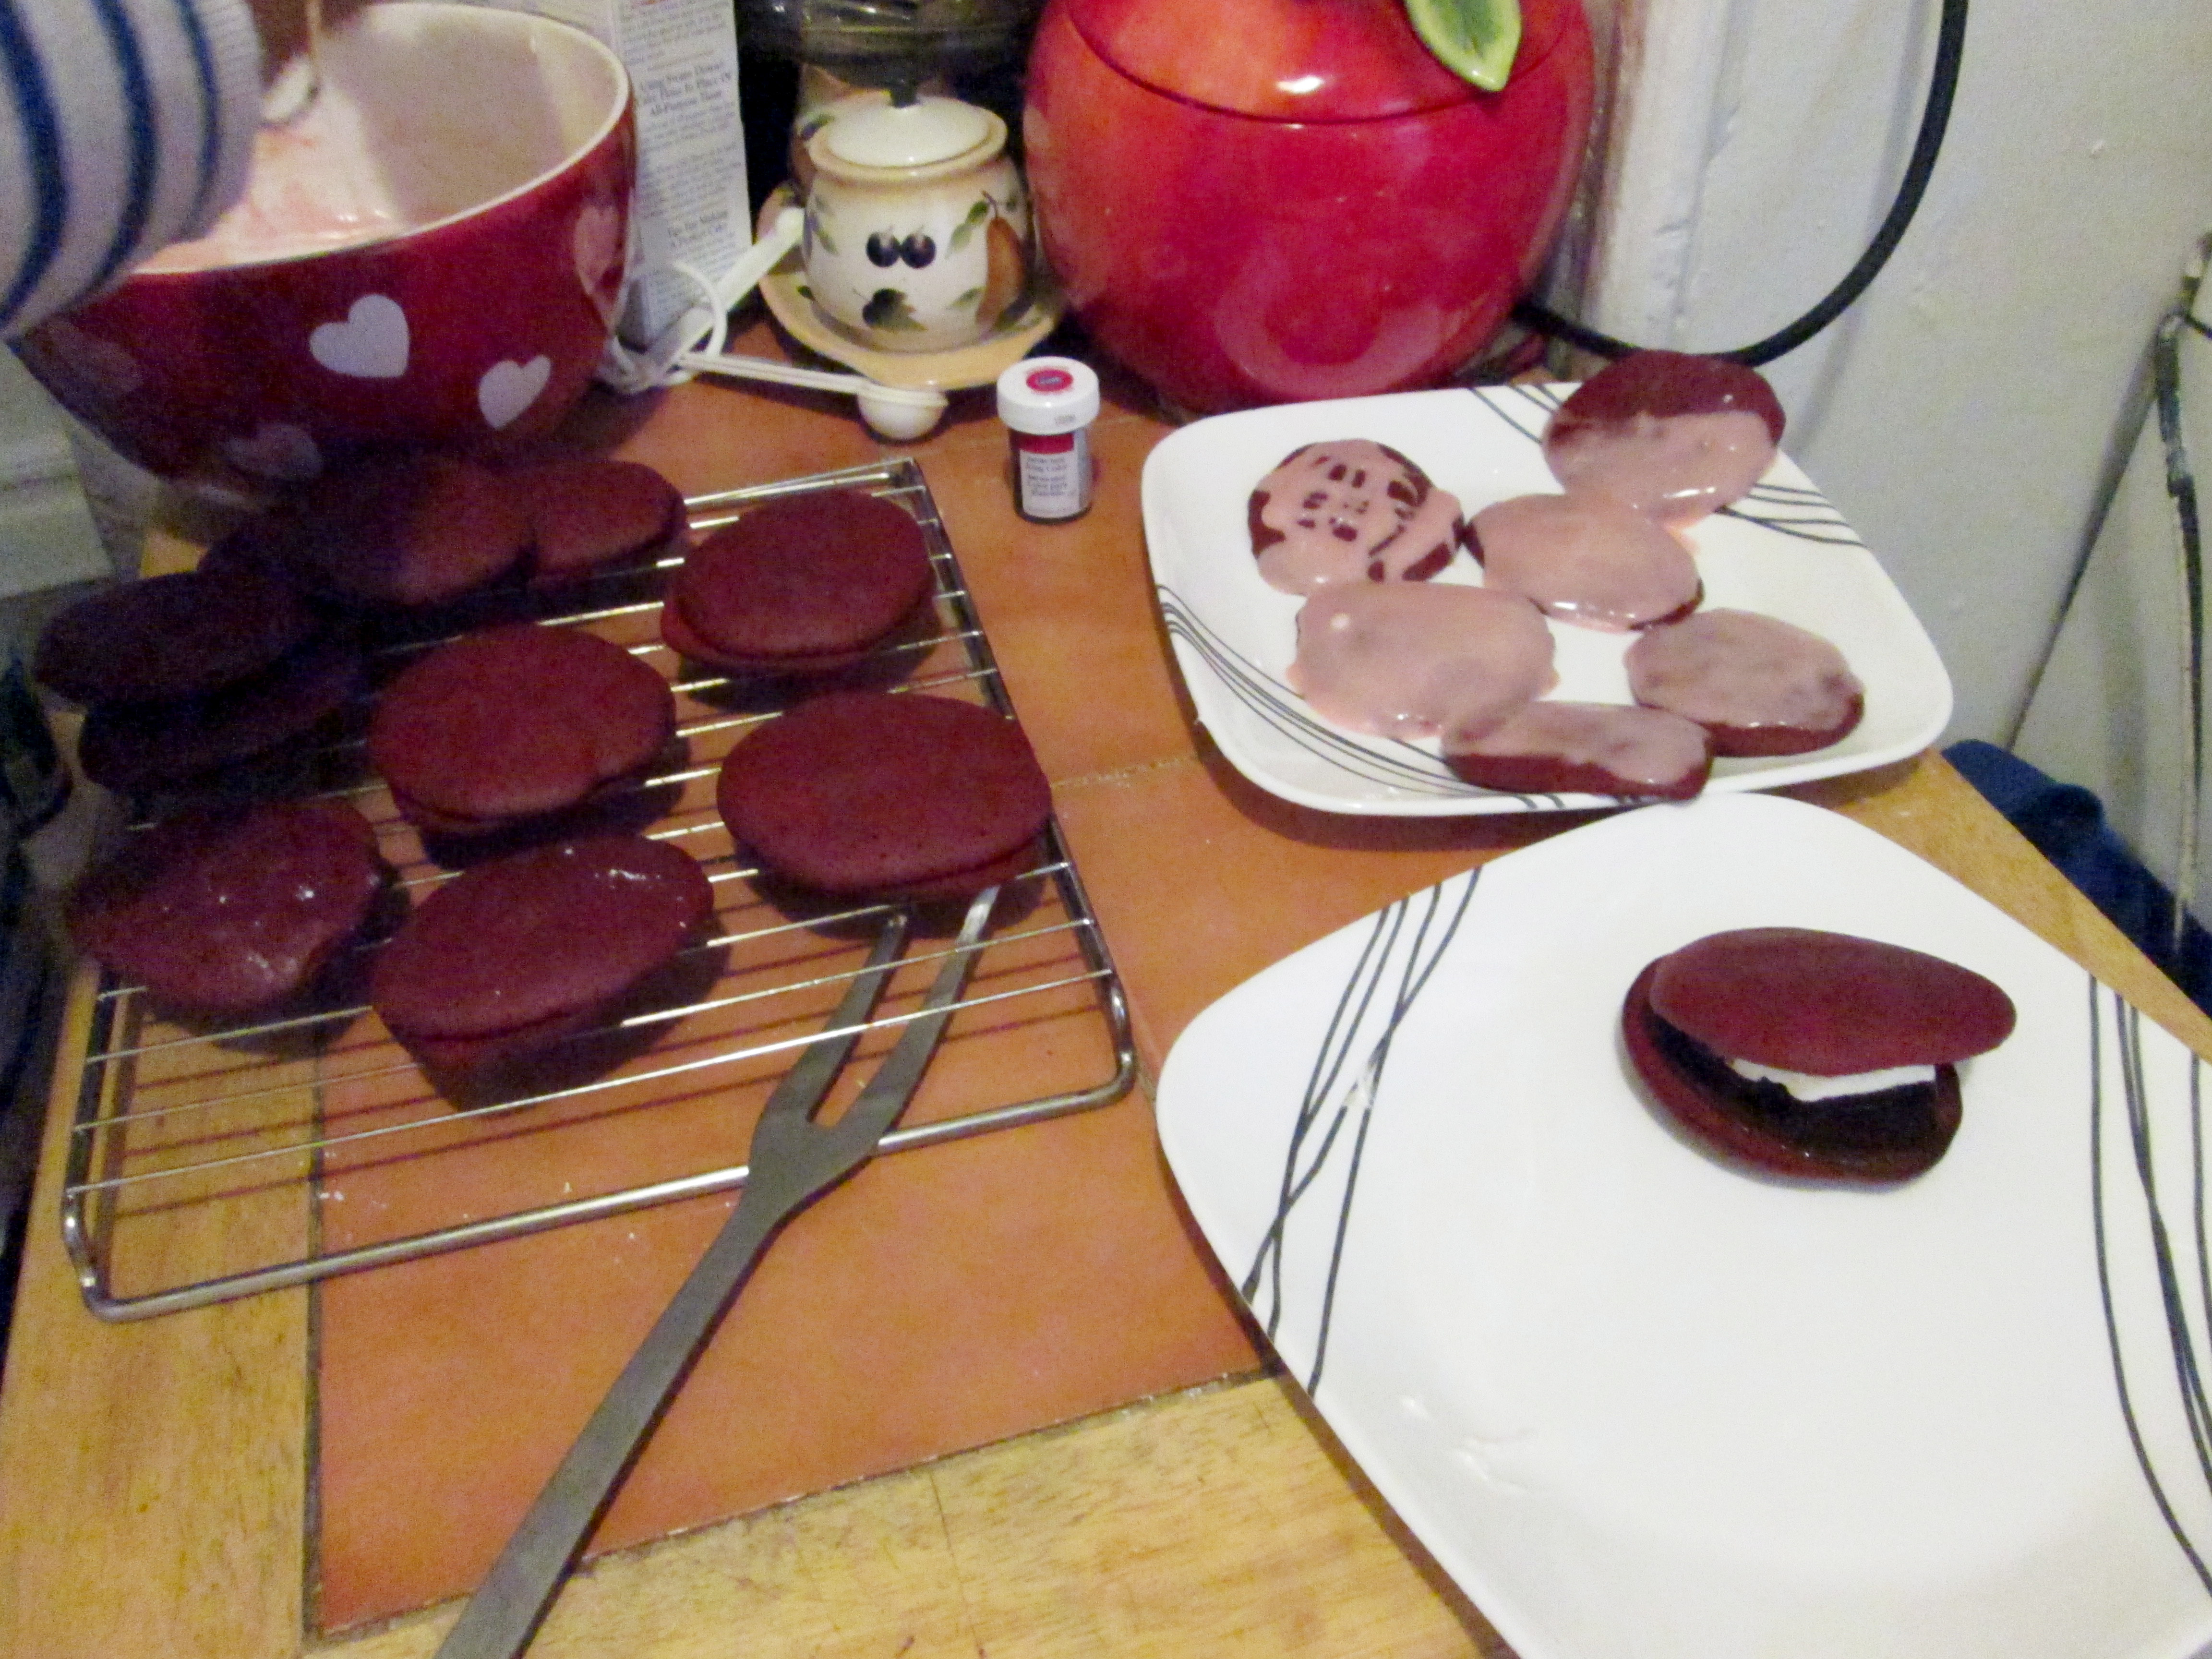
Alas, the mess ups were not over. I wanted to make the frosting mostly dairy free, as my sister is lactose intolerant. We have been experimenting with different alternatives for certain ingredients that I could use to bake for her, and have been somewhat successful. She tried a vegan cream cheese and liked it, so I thought it’d be perfect for the frosting. I don’t really have a problem with non-dairy substitutes, so I was willing to go through with it for the whole recipe. Along with my first misstep, this was one of the items I left out so it’d be room temperature. Oh my goodness, what a BIG mistake. The “cream cheese” was way too soft, had an off color and had a distinct and strong smell. I went forward with the recipe anyway, and we got a giant bowl of funky smelling sort of glaze. We tried to salvage it by glazing some of the tops but no dice. My sister ate the ones she glazed but it wasn’t thick enough for sandwiching.
On top of all of this, I decided to skip buying a jar of marshmallow fluff and got marshmallows instead so that I could melt them myself. Another mistake! Not only did they take forever to melt on a double boiler, the melted marshmallows produced a stringy, sticky and melted mass that hardened pretty quickly. I tried making a small batch of the frosting with some leftover ingredients and it turned into a sticky, slimy mess because of the melted marshmallows.
It was a screw up of massive proportions that led me to try and save this dessert. For a few of them, we decided to make some of the tops into s’mores. We roasted marshmallows over the stove, and sandwiched them between two of the tops with a bit of melted semisweet chocolate. Regardless of everything that happened, the whoopie tops themselves were amazing. They were spongey but firm, and had an amazing chocolate taste. Most red velvets skimp on the chocolate but this one is an exception. As a s’more, the melty and gooey marshmallow adds some sweetness to the triple whammy of chocolate.


Honestly, I almost didn’t even make this post but it’s something that happens even to the best bakers, and is something everyone should know. Not only that, but there’s a lesson behind every mistake. What did I learn this time? Even though there were a lot of mistakes, the end product was still deliciously worth the trouble. Much like a relationship; baking is my love and even though I (frequently) mess things up, it always works out in the end.
For the recipe (and mouth watering pictures), please visit Jonathan’s blog, The Candid Appetite.

